If you want your social media posts to stop the scroll and grab attention — animated designs are the way to go. The best part? You don’t need complicated software. You can do it right in Canva!
In this blog, I’ll walk you through exactly how I create animated posts in Canva — whether it’s for Instagram, LinkedIn, or even stories. Perfect for fellow freshers in design or digital marketing.
What Are Animated Posts?
Animated posts are visual designs with moving elements — like text that slides in, shapes that pop up, or images that fade. They help make content more dynamic and eye-catching.
Why Use Animated Posts?
-
Grab attention in a busy feed
-
Look professional without expensive tools
-
Boost engagement on social media
-
Repurpose static designs with motion
I started adding animation to my Instagram posts, and within a few days, I saw more likes, shares, and story reshares — without changing the message!
Step-by-Step: How to Create Animated Posts in Canva
Step 1: Choose the Right Template
-
Go to Canva.com
-
Search for your format:
-
Instagram Post (1080×1080)
-
Instagram Story (1080×1920)
-
LinkedIn Post or Facebook Post
-
-
Select a template with motion, or start from a blank canvas
Tip: Type “animated Instagram post” in the search bar to see pre-made templates with animation already built-in.
Step 2: Customize Your Design
-
Add your text, brand colors, and fonts
-
Replace default images with your own or choose from Canva’s library
-
Add icons, shapes, and illustrations as needed
You can make static content first —animation comes next.
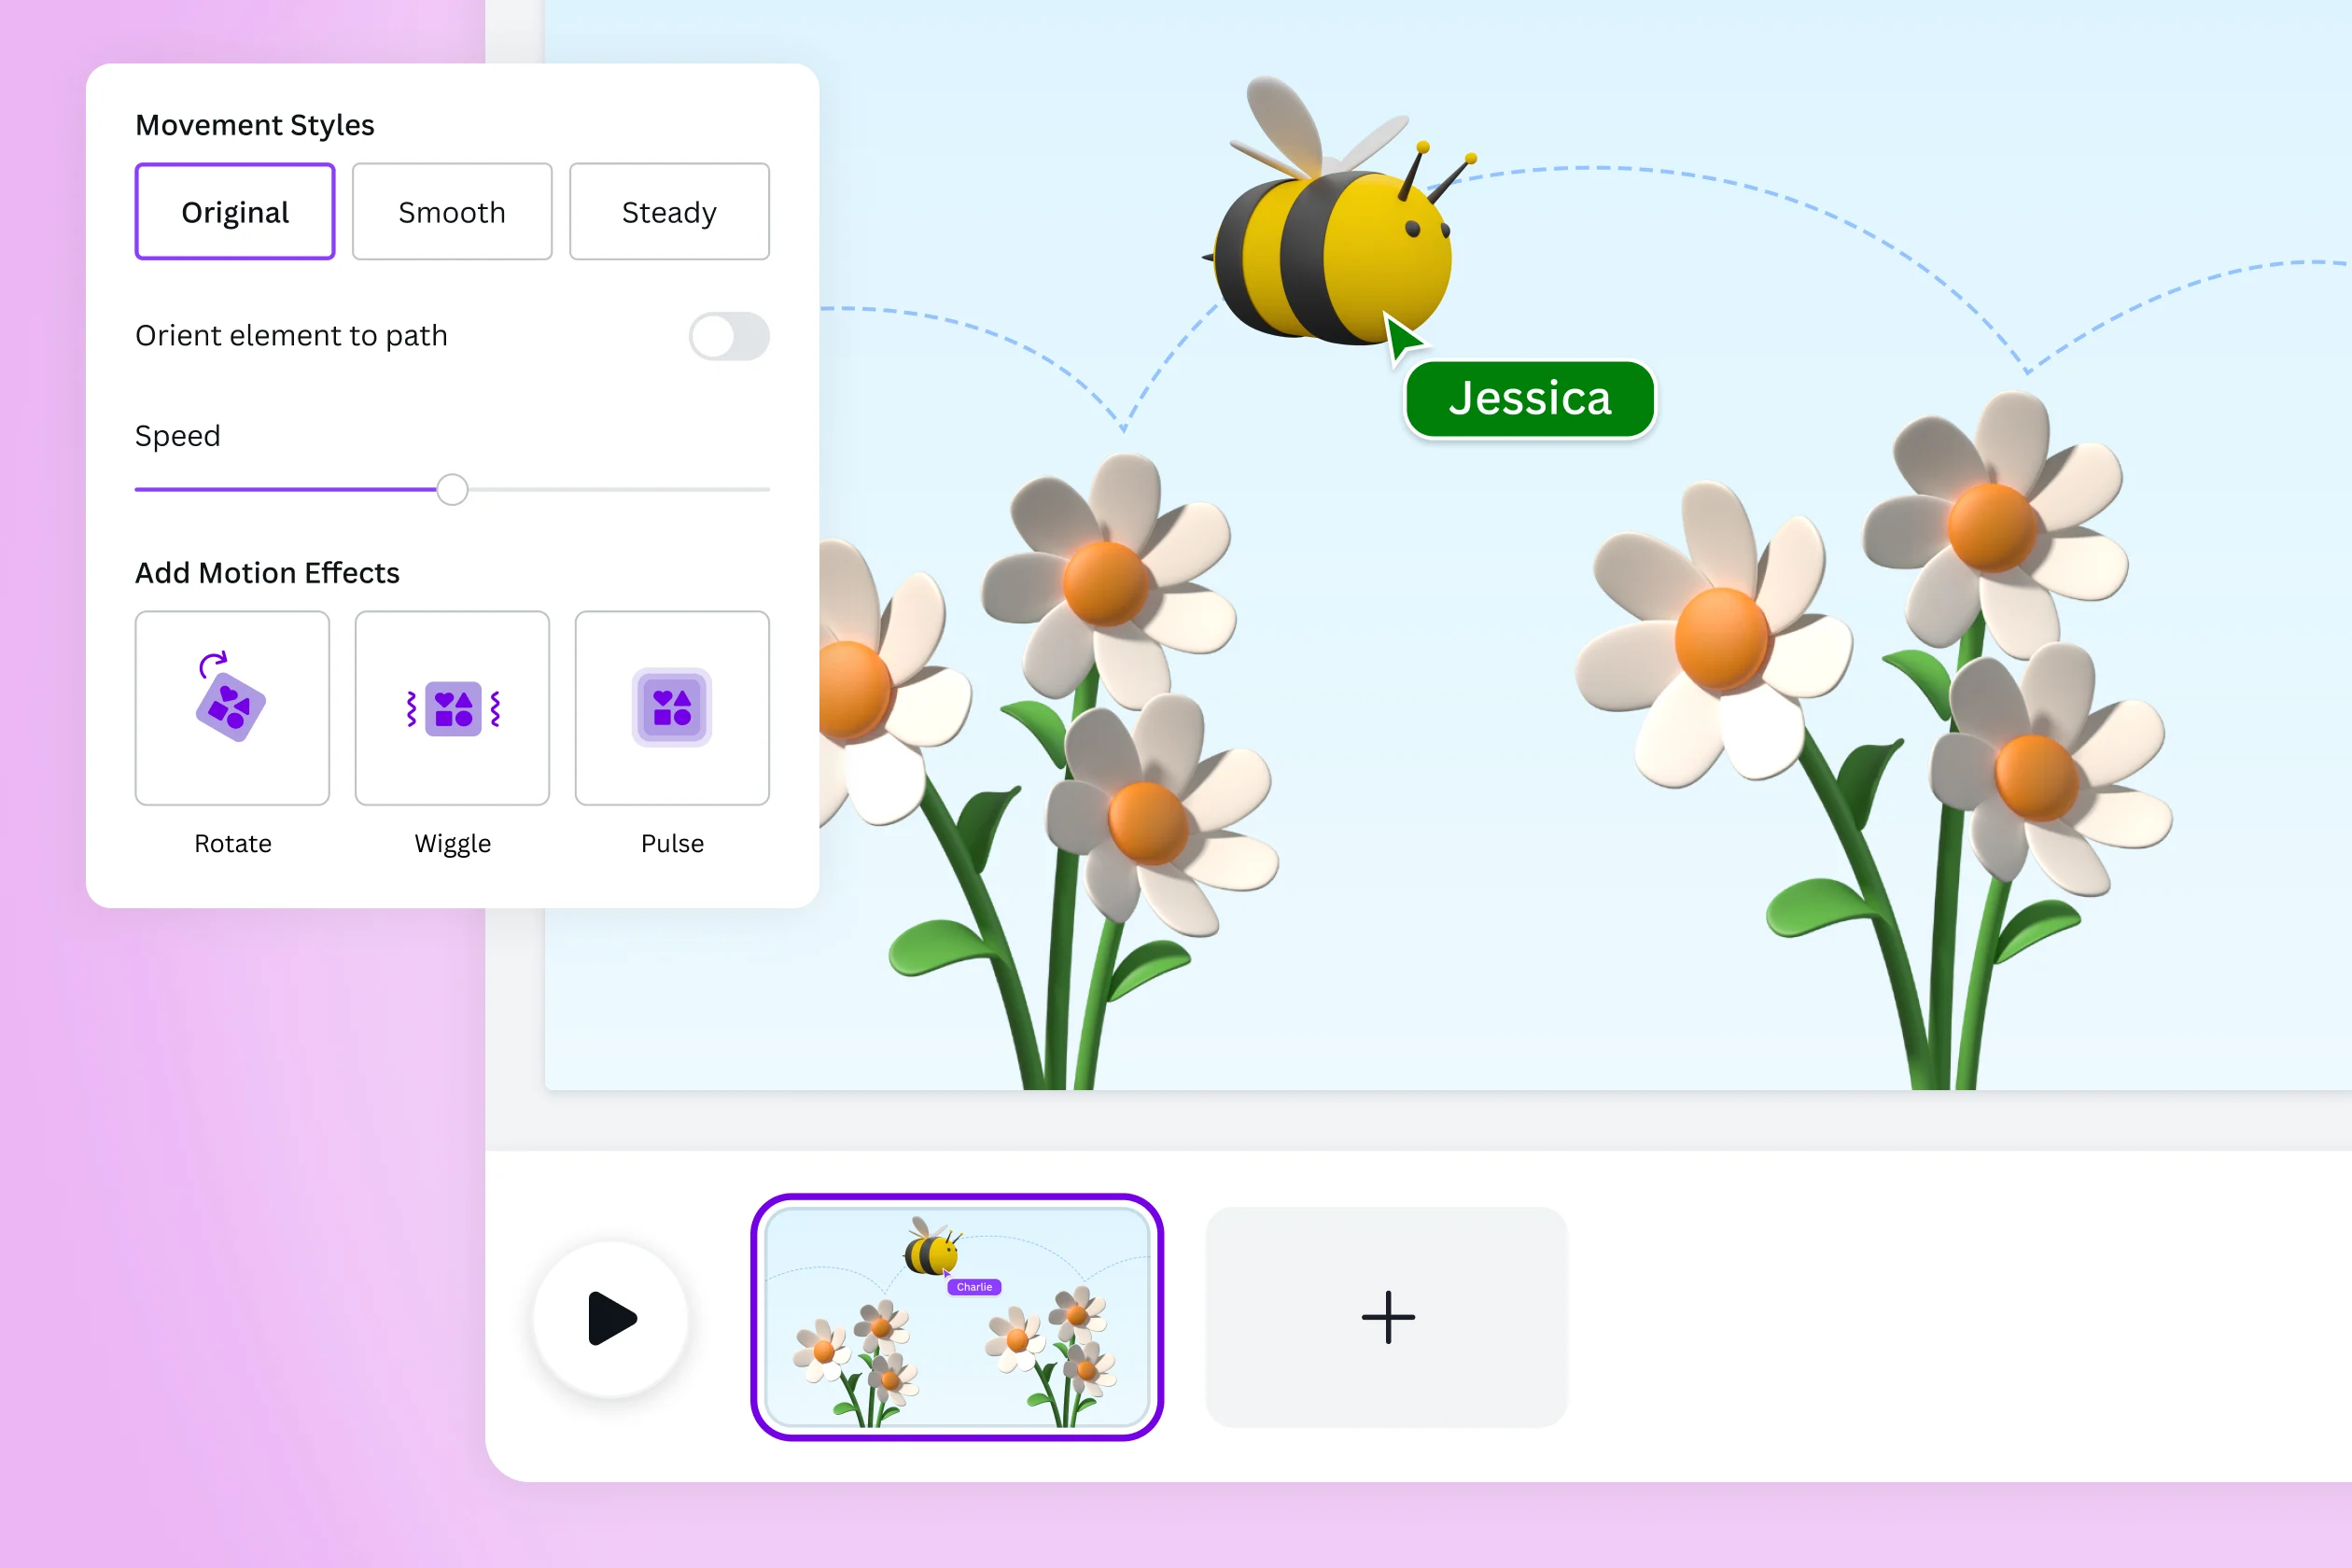
Step 3: Add Animation
Click on any element (text, image, shape), then:
-
Hit the “Animate” button in the top toolbar
-
Choose from animations like:
-
Fade
-
Pan
-
Rise
-
Tumble
-
Pop
-
Typewriter (great for titles)
-
You can also animate the entire page by clicking anywhere on the background and selecting “Animate Page.”
Pro Tip: Use subtle motion. Too many animations can feel overwhelming.
Step 4: Adjust Timing
-
At the top, set the page duration (default is 5 seconds)
-
You can extend or reduce it depending on your content
-
If you’re creating a multi-page carousel or story, time each scene individually
Step 5: Preview & Fine-Tune
-
Click the play (▶) button in the top right to preview your animated post
-
Tweak timing, animations, and transitions until it flows smoothly
This is your chance to make sure the motion enhances the message — not distracts from it.
Step 6: Download in the Right Format
-
Click Share > Download
-
Choose:
-
MP4 Video (for animated feed posts)
-
GIF (for lighter animations, great for emails or comments)
-
-
Select the pages you want (if you’re making a carousel)
Use MP4 for Instagram posts/stories, and GIFs for fun brand touches.
Ideas for Using Animated Posts
Here are a few ways I use animated posts in Canva:
| Content Type | Animation Idea |
|---|---|
| Quote Posts | Make the text rise or fade in one line at a time |
| Tips Carousel | Animate each tip to pop or tumble in |
| Product Launch | Add motion to product photos with pan or zoom |
| Reels Cover | Create a cover with subtle animations |
| Client Testimonial | Fade in the client’s photo and quote |
Animated posts don’t just look cool — they perform better. With Canva’s animation features, you don’t need to be a video editor to create stunning, scroll-stopping designs.
Start simple, stay on-brand, and experiment with different animation styles to find what clicks with your audience.